Free shipping · 0% for 6 months · White-glove available


How to Maintain Victorian Furniture: Cleaning and Care Guide


Reviewed by the Mobilia Cleopatra design team
Quick answer: To clean old wood furniture, start dry and stay gentle. Dust with a soft, lint-free cloth or a vacuum brush attachment, following the grain. Test any cleaner in a hidden spot first. If grime remains, wipe with a cloth barely dampened in water and a few drops of mild dish soap, then dry the surface right away. Skip ammonia, bleach, silicone sprays, and abrasive pads. For valuable or damaged antiques, consult a professional furniture conservator before going beyond dusting.
Victorian furniture rewards care. Deep carving, rich mahogany and walnut, glossy hand-rubbed finishes, and plush upholstery give these pieces their drama, and each of those features asks for a slightly different kind of attention. Whether you own a genuine nineteenth-century heirloom or a newly made Victorian-style furniture piece designed to capture the same spirit, the goal is the same: keep the surface clean, protect the finish, and avoid the well-meant mistakes that cause lasting harm.
This guide walks through how to maintain Victorian furniture from the everyday to the occasional. You will learn how to clean old wood furniture safely, when wax helps and when it hurts, how to look after carvings, veneer, marble, brass, and upholstery, how to lubricate sticky wooden drawers, and how to protect a piece from light, humidity, heat, and pests.
Why Victorian Furniture Needs Gentle, Informed Care
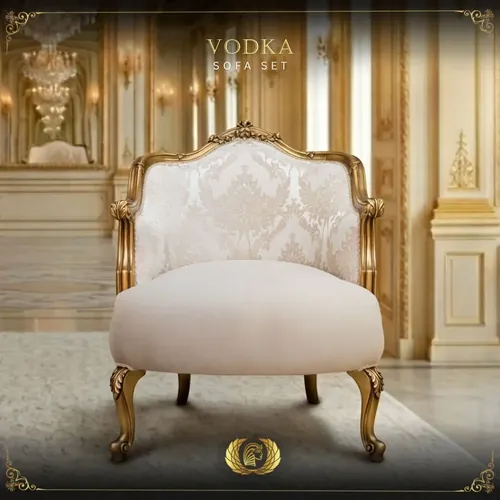
The Victorian era favored ornament. Furniture from the period, and the reproductions and revival designs it inspired, tends to combine carved crests, scrolled arms, turned legs, inlay, figured veneers, and tufted or buttoned upholstery in a single piece. If you want a refresher on what defines the look, our overview of what Victorian furniture is covers the hallmark shapes and materials. Each detail is a place where dust collects or a careless cloth can snag.
Finishes matter just as much. Many nineteenth-century pieces were finished with shellac, often applied as French polish, or with wax over the wood. These traditional coatings are beautiful but sensitive: alcohol, heat, and water can cloud or soften them. Newer Victorian-style furniture is usually protected by modern lacquer or other durable coatings that tolerate routine cleaning better, but they still scratch, dull, and stain if treated roughly.
Antique or Victorian-style: why it changes your approach
A true antique carries historical and often financial value in its original surface. The aged glow known as patina, small signs of wear, and even old repairs are part of its story, and aggressive cleaning or refinishing can erase them for good. For these pieces, the rule is to do the least that works and to leave anything beyond light cleaning to a conservator.
A new Victorian-style piece gives you more latitude. You are protecting a finish rather than preserving history, so the priority is keeping it clean, avoiding damage, and following any care instructions that come with the furniture. The methods below are gentle enough for both, with clear notes where antiques need extra caution.
How to Clean Old Wood Furniture, Step by Step
Cleaning old wood furniture is mostly about restraint. Start with the mildest method, check the result, and only move to the next step if you need to.
1. Identify the finish before you clean
Different finishes react differently to water and solvents. A common test is to touch a cotton swab lightly dampened with denatured alcohol to a hidden spot, such as the inside of a leg or the underside of a top. If the finish softens or turns tacky, it is likely shellac, which means alcohol-based products and heavy moisture are off the table. If nothing happens, you are probably dealing with lacquer, varnish, or a modern coating. On a valuable antique, skip even this test and ask a conservator, since any solvent can mark an old surface.
2. Dust first, and dust often
Regular dusting is the single most useful habit. Grit left on the surface acts like fine sandpaper every time something slides across it. Use a soft, clean, lint-free cloth and work along the grain, or use a vacuum fitted with a soft brush attachment on low suction for carved areas. A clean, soft paintbrush or a soft toothbrush lifts dust from deep carving and crevices without catching on raised details. Skip worn feather dusters, which scratch and scatter dust.
3. Damp-clean only when grime remains
If dusting leaves a dull film or sticky fingerprints, mix a few drops of mild, dye-free dish soap into warm water. Dip a soft cloth, wring it until it is barely damp, and wipe a small area along the grain. Follow immediately with a second cloth dampened in plain water to remove soap residue, then dry the area completely with a third, dry cloth. The Canadian Conservation Institute notes that water can cause rapid, visible damage to furniture finishes and recommends a solubility test in an inconspicuous area before any damp cleaning (CCI Notes on the care of furniture finishes).
4. Handle stubborn grime with care
Heavy, old grime sometimes needs more than soap and water. Odorless mineral spirits can lift waxy buildup from some sound finishes, but always test first, work in a well-ventilated room, wear gloves, and use a cloth that is only lightly moistened. If a piece has flaking, crazed, or cloudy finish, painted decoration, or gilding, stop there. Those surfaces belong with a professional.
What not to use on old wood
- Ammonia, bleach, or all-purpose spray cleaners
- Alcohol-based products on shellac or French polish
- Silicone furniture sprays and heavily scented aerosol polishes
- Steel wool, scouring pads, or abrasive powders on finished surfaces
- Soaking wet cloths, or leaving any liquid standing on the wood
Polishing and Waxing Without Building Up Residue
Polishing is where many owners accidentally do the most harm. Wood does not need to be fed with oils or creams. A sealed finish sits between the wood and the air, so what you are actually maintaining is that coating. The CCI cautions that commercial restoration products usually contain waxes, oils, or silicones that can build up into a sticky layer that attracts dust and dirt.
When paste wax helps
A thin coat of good-quality, colorless paste wax adds a soft sheen and a sacrificial layer of protection to a stable finish. Clean the surface first, apply the wax sparingly with a soft cotton cloth, let it haze, and buff along the grain. The National Park Service recommends applying paste wax only to stable, clear finishes such as shellac, lacquer, and varnish, never to bare wood, and favors two thin coats over one thick one (NPS Conserve O Gram on waxing furniture). The same guidance notes that waxing is needed infrequently: if buffing with a soft cloth still brings back the sheen, the existing wax layer is doing its job.
Why oils and sprays can backfire
Linseed and other drying oils darken over time and can form a gummy coat that hides the grain. Silicone sprays leave a slick film that later complicates professional cleaning or refinishing. If a surface looks dry or dull, a fresh buff, a proper wax application, or a conversation with a conservator is a better answer than another layer of oil. Many of the same principles apply to the dark, close-grained woods discussed in our guide to mahogany Victorian furniture.
Caring for Carvings, Veneer, Marble, and Brass Hardware
Victorian design layers several materials into one piece, and each needs its own touch.
Carvings and turned details
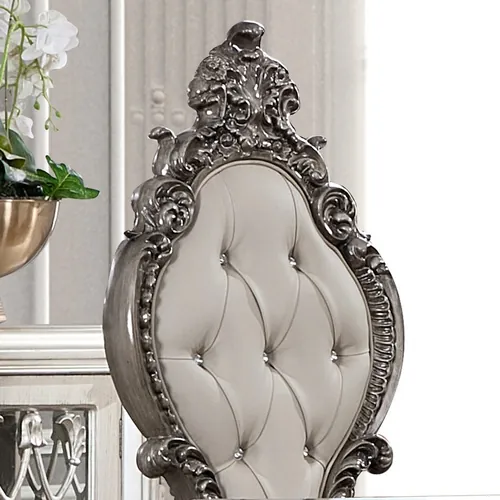
Carved crests, rosettes, and scrolled feet trap dust in their recesses. Brush them clean with a soft brush while holding a vacuum nozzle nearby to catch what comes loose. Do not push a cloth into tight carving, where threads can snag and lift small fragments. Wax that has built up in crevices over the years is best left alone on an antique; on a newer piece, a soft wooden stick wrapped in cloth can ease it out.
Veneer and inlay
Thin veneers and inlay of contrasting wood, brass, or bone are vulnerable to humidity swings and snagging. Never pull at a lifting edge. If a fragment comes free, save it in a labeled envelope so it can be reattached. Re-gluing veneer on an antique is a job for a conservator, who can use reversible adhesives. Inlay or decoration that may be ivory or bone should not be cleaned with water at all; leave it to a specialist.
Marble tops
Marble-topped dressers, side tables, and washstands are common in Victorian design. Marble is porous and sensitive to acids, so wipe spills promptly, use coasters, and clean with a soft cloth dampened in plain water. Avoid vinegar, citrus, and acidic cleaners.
Brass handles and fittings
If brass pulls need cleaning, remove them first so metal polish never touches the surrounding wood. On antiques, many owners prefer a mellow, aged tone, so polish lightly or not at all.
Looking After Victorian Upholstery and Textiles
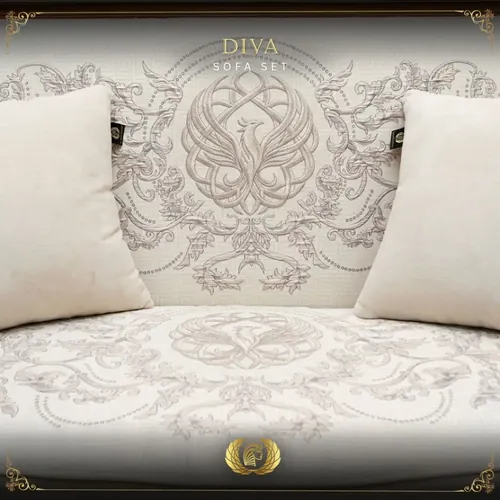
Velvet, brocade, damask, and tufted leather are central to Victorian seating, from parlor sofas to side chairs. Upholstery wears faster than wood, so it deserves a regular routine.
- Vacuum gently. Use an upholstery brush on low suction and work around buttons and tufting rather than over them. For fragile antique fabric, lay a piece of fiberglass screen or fine mesh over the surface and vacuum through it.
- Blot, never rub. Spills should be blotted at once with a clean white cloth. Rubbing pushes liquid deeper and can crush pile fabrics like velvet.
- Check the cleaning code. New upholstered pieces often carry a manufacturer cleaning code. Follow it; it tells you whether water-based or solvent-based spot cleaning is appropriate.
- Rotate and shield. Rotate loose cushions so they wear evenly, and keep seating out of direct sun to slow fading.
Our velvet furniture guide goes deeper into brushing and spot care. For antique textiles, stains, tears, or tired stuffing, a professional upholstery conservator is the safe route. If you are choosing new seating, Victorian living room sets pair carved frames with upholstery made for everyday use.

How to Lubricate Wood Drawers, Hinges, and Moving Parts
Sticking drawers and stiff doors are common with older wooden furniture, especially after humid weather when the wood swells. Forcing them strains joints.
Wooden drawer runners
To lubricate wood, start by removing the drawer and vacuuming dust and debris from the runners and the carcass. Then rub a block of paraffin wax or a plain, uncolored candle along the drawer’s bottom edges and runners, and lightly along the guides inside the case. Slide the drawer in and out a few times to spread the wax, and wipe away any flakes. Avoid oils and spray lubricants on wood: they soak in, attract dust, and can stain.
If a drawer still binds, check whether it is simply humid. Never plane or sand an antique drawer; that permanently removes original material.
Hinges, locks, and metal parts
Metal hinges on cabinet doors, secretaries, and wardrobes can squeak or stiffen. Apply a very small amount of light lubricant to the hinge pin with a cotton swab or needle applicator, protecting the surrounding wood with a piece of card, and wipe away every trace of excess. For antique locks or delicate mechanisms, a conservator or locksmith experienced with period hardware is the better choice.
Protecting Victorian Furniture From Light, Humidity, Heat, and Pests
Most long-term damage comes not from cleaning but from where a piece lives.
Light
Sunlight fades wood, bleaches stains, and breaks down finishes and fabric. Place furniture away from bright windows, or use sheer curtains, blinds, or UV-filtering window film.
Humidity and temperature
Wood swells as it absorbs moisture and shrinks as it dries. Repeated swings crack panels, loosen joints, and lift veneer. Aim for steady, moderate conditions and avoid placing furniture against exterior walls, beside heating vents, or near fireplaces and radiators. A small hygrometer helps you see how much your rooms change between seasons, and a humidifier or dehumidifier can smooth out the extremes.
Heat, water, and everyday contact
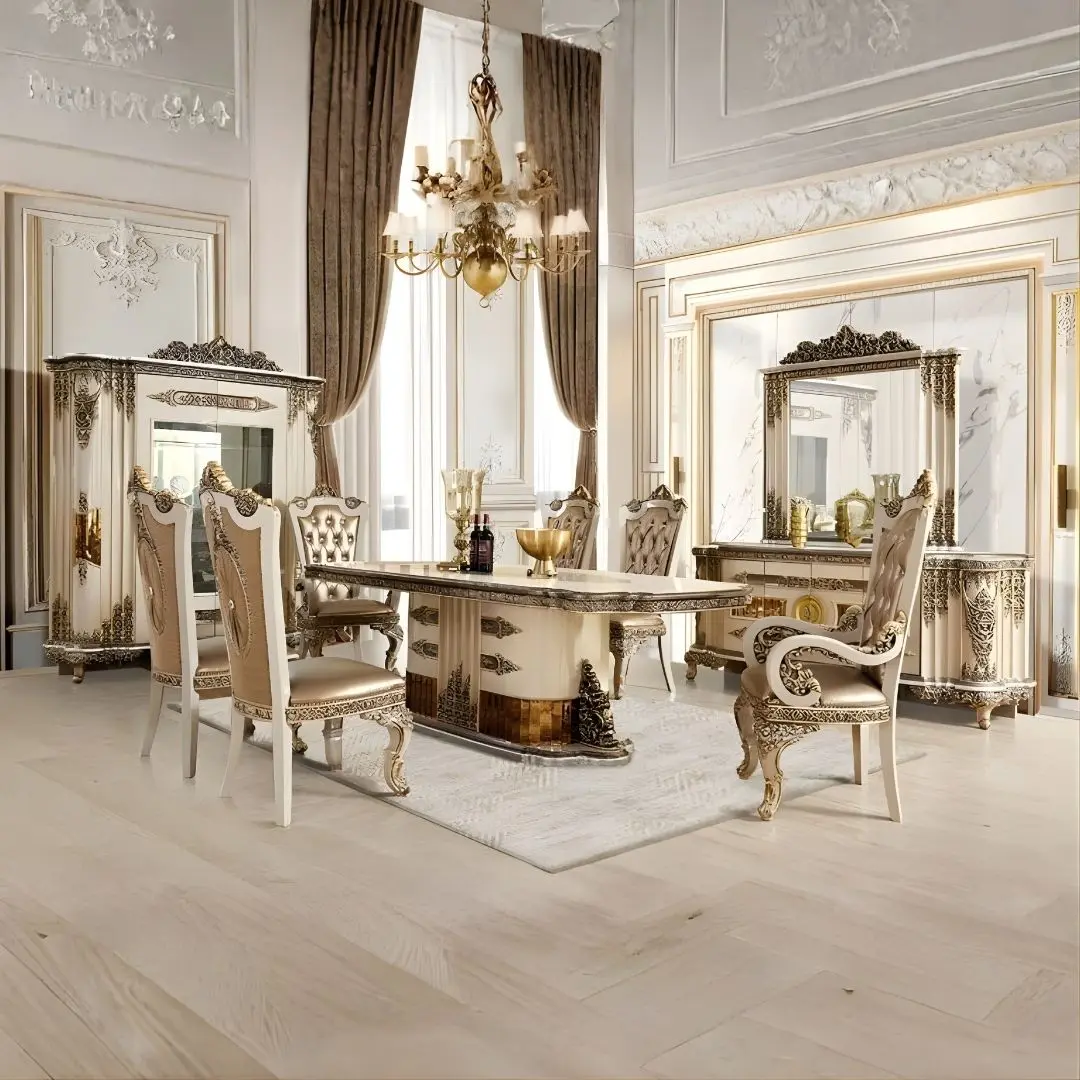
Use coasters, placemats, and trivets on every wood surface. Hot dishes and wet glasses leave white rings in many finishes, especially shellac. Avoid leaving rubber, vinyl, or plastic items in long contact with old finishes, since some react with the coating and leave sticky marks. These habits also keep a dining table looking its best; see our guide on caring for a dining room set for table-specific tips.
Pests and mold
Check older pieces occasionally for small round exit holes, fine powdery dust beneath legs, or soft spots, all possible signs of wood-boring insects. Mold and mildew thrive in damp, still air, so keep rooms dry and ventilated. Cedar blocks in drawers can discourage some insects. If you see active infestation or mold on a valuable piece, isolate it and call a conservator or pest professional rather than applying household chemicals.

Moving, Storage, and When to Call a Conservator
Ornate pieces such as armoires, sideboards, beds, and display cabinets are heavy and full of weak points. Always lift; never drag. Remove glass shelves, mirrors, marble tops, and drawers first, lock or tape doors shut with low-tack tape on hardware rather than the finish, and wrap the piece in clean moving blankets. Grip solid structural parts, not carved trim, and use two or more people.
For storage, choose a climate-controlled space rather than a garage, attic, or damp basement. Cover furniture with breathable cotton or muslin sheets. Plastic wrap traps moisture against the wood and encourages mold.
Signs it is time for a professional
- Loose joints, wobbly legs, or cracked frames
- Lifting or missing veneer, inlay, or carved details
- Cloudy, crazed, flaking, or worn-through finish
- Water damage, deep stains, or warping
- Torn or fragile antique upholstery
For a real antique, look for a trained furniture conservator rather than a general refinisher. Conservators aim to stabilize a piece and preserve its original finish and patina, using methods that can be reversed later. Stripping and refinishing an antique can sharply reduce its value, so treat it as a last resort. For a new Victorian-style piece, contact the retailer or manufacturer first, since they can advise on finish-safe products and repairs.
Frequently Asked Questions
How do professional cleaning services handle delicate or antique furniture?
Qualified specialists first examine the piece, identify the finish and materials, and test any cleaner in a hidden area. They use the gentlest method that works, such as controlled vacuuming, soft brushes, and barely damp swabs, and avoid anything that cannot be undone. For valuable or damaged antiques, look for a furniture conservator rather than a general cleaning company, and ask how they test and document their work.
What is the best way to clean old wooden furniture?
Dust it thoroughly with a soft cloth or brush, test in a hidden spot, then wipe any remaining grime with a cloth barely dampened in mild soapy water. Rinse with a second damp cloth and dry right away. Avoid harsh chemicals, silicone sprays, and abrasives.
How do you lubricate wood drawers that stick?
Remove the drawer, vacuum the runners, and rub paraffin wax or a plain candle along the drawer bottom edges and the guides inside the case. Work the drawer back and forth to spread the wax. Skip oils and spray lubricants, which soak into wood and attract dust.
How do I clean mahogany or walnut furniture?
Treat these woods like any finished hardwood: dust along the grain, damp-clean only when needed with mild soap and water, and dry immediately. Their finish, not the species, decides what is safe, so test first. A thin coat of colorless paste wax can restore sheen.
What is the best oil for dry wood furniture?
For finished furniture, usually none. The finish, not the wood, is what you see and touch, and oils can build up into a sticky, dark layer. If the surface looks dry, clean it and apply a thin coat of paste wax, or ask a conservator to assess an antique finish.
Should I refinish antique wood furniture?
Rarely. Original finish and patina are a large part of an antique’s character and value. Cleaning, waxing, and minor conservation are almost always better choices. If refinishing truly seems necessary, have a conservator evaluate the piece first.
Does new Victorian-style furniture need special cleaning or care?
It needs the same gentle habits: regular dusting, coasters, steady humidity, and no harsh cleaners. Modern finishes are usually more forgiving than antique shellac, but always follow the care instructions provided with the piece.
Keeping Victorian Furniture Beautiful for the Long Run
Good maintenance is less about special products and more about steady habits. Here is a simple routine to work from:
| Task | How often | Notes |
|---|---|---|
| Dusting | Weekly or as needed | Soft cloth or brush, along the grain |
| Upholstery vacuuming | Regularly | Low suction, brush attachment |
| Damp cleaning | Only when grime builds up | Test first, barely damp cloth, dry at once |
| Waxing | Infrequently | Only when buffing no longer restores the sheen |
| Condition check | Each season | Joints, veneer, finish, signs of pests |
Follow that rhythm, keep pieces out of harsh sun and away from heat, and call a conservator when a valuable antique shows real damage. That is the core of how to maintain Victorian furniture so it stays both usable and beautiful.
If you are adding new pieces in the same spirit, explore Victorian dining sets, Victorian-style bedroom sets, and accent pieces such as Victorian end tables, or learn how early, mid, and late designs differ in our guide to Victorian furniture styles. Questions about a specific piece? Call Mobilia Cleopatra at (909) 999-1442.