Blog
How to Maintain Victorian Furniture – A Complete Care Guide
Preserve the elegance and history of your Victorian treasures with expert care tips.
Victorian furniture is more than beautiful—it’s a legacy of craftsmanship, ornate design, and timeless charm. Whether you’re an antique collector or simply love classic interiors, knowing how to maintain Victorian furniture is essential to keeping these elegant pieces in pristine condition.
In this complete care guide, we’ll explore proper cleaning methods, wood polishing techniques, upholstery preservation, and expert tips for protecting your antique investment.
Why Victorian Furniture Requires Special Care
Victorian furniture, crafted during Queen Victoria’s reign (1837–1901), is characterized by elaborate carvings, high-quality hardwoods like mahogany and walnut, and luxurious upholstery such as velvet, silk, and brocade.
How to Maintain Victorian Furniture?
But age, environment, and misuse can wear down these ornate pieces quickly. Proper maintenance ensures your furniture remains both functional and beautiful for generations.
1. Clean Gently and Regularly
Avoid Harsh Cleaners and Abrasives
Dust buildup can scratch or dull antique finishes. To clean Victorian wood furniture:
- Use a soft microfiber cloth or natural bristle brush weekly.
- Avoid feather dusters (they can scatter particles and scratch surfaces).
- For deep crevices or carved areas, use a clean artist’s paintbrush or soft toothbrush.
Spot Cleaning and Grime Removal
- Mix a few drops of mild dish soap with warm water.
- Lightly dampen a cloth, wipe the surface, and immediately dry with a clean, dry cloth.
- Avoid saturating the wood—moisture can damage delicate finishes or cause warping.
Do not use: Ammonia, bleach, alcohol, or generic spray polishes. These can strip antique finishes and degrade wood over time.
2. Polish and Condition Antique Wood
Victorian furniture is often finished with French polish, shellac, or natural wax, which requires nourishment to stay vibrant.
- Use a high-quality beeswax or paste wax polish every 4–6 months.
- Apply in thin layers with a lint-free cloth, following the wood grain.
- Buff gently to a low sheen—avoid over-polishing.
Tip: Avoid silicone-based furniture sprays—they create a slick surface and may trap moisture or dust.
3. Maintain Upholstery and Textiles
Many Victorian pieces feature intricate upholstery using fragile materials like silk, jacquard, or mohair. These fabrics require delicate care:
- Vacuum weekly with a brush attachment on low suction.
- Blot spills immediately with a soft, clean cloth. Never rub.
- For tougher stains or fading, consult a professional antique upholstery cleaner.
Fabric Preservation Tips:
- Keep upholstered items out of direct sunlight.
- Rotate cushions regularly to avoid uneven wear.
- Use protective covers or throws if the piece is used daily.
Also Check: Victorian Dining Room Sets
4. Control Humidity and Temperature
Wood expands and contracts with temperature and humidity changes. Over time, this can lead to cracks, splitting, or loose joints in antique furniture.
Maintain optimal conditions:
- Humidity: 40–55%
- Room Temperature: 18–23°C (64–73°F)
- Use a humidifier in winter and dehumidifier in summer, especially if your home has HVAC or strong sunlight exposure.
Bonus Tip: Place houseplants nearby to help balance humidity levels naturally.
5. Protect from Sunlight and Heat
UV rays can fade wood finishes and fabrics, while direct heat can dry out natural materials, leading to cracking and warping.
- Position Victorian furniture away from windows, fireplaces, and radiators.
- Use UV-filtering window films or curtains to diffuse harsh sunlight.
- Never place hot objects (like mugs or lamps) directly on antique surfaces—always use coasters or protective pads.
6. Prevent Pests and Mold
Antique furniture is vulnerable to woodworm, termites, and mildew—especially in humid or poorly ventilated spaces.
Prevention Steps:
- Keep furniture in dry, well-ventilated rooms.
- Inspect for tiny holes, sawdust, or soft spots—signs of pests.
- Place cedar blocks or lavender sachets inside drawers to repel insects.
- Use a 1:1 solution of white vinegar and distilled water to gently clean mold, then dry thoroughly.
If you suspect an infestation, call a professional conservator or pest control expert immediately.
How to Maintain Victorian Furniture
7. Move Victorian Furniture with Care
Victorian pieces are often heavy and fragile. Improper handling can damage joints, legs, or veneers.
When moving antique furniture:
- Always lift, never drag.
- Remove detachable parts like glass panels or marble tops before moving.
- Use moving blankets and corner protectors for safety.
- Enlist at least two people for heavier pieces like armoires or credenzas.
8. Know When to Call a Professional
DIY repairs can lower an antique’s value or damage it permanently. Seek expert help for:
- Loose joints or wobbly legs
- Cracked veneer or missing inlay
- Damaged upholstery or faded finishes
- Deep stains or warped wood
Certified antique restorers understand how to retain historical integrity while enhancing function and appearance.
9. Check and Tighten Joints Periodically
Victorian furniture often features hand-cut joints and wooden pegs instead of screws. Over time, these joints may loosen.
Gently test legs, arms, and backs for movement, and consult a professional if tightening or regluing is needed. Avoid using nails or metal screws—they can damage antique frames.
10. Use a Soft Buffer to Revive Dull Finishes
If the finish looks cloudy or dull but is not damaged, try buffing with a soft cloth and a tiny amount of linseed oil or mineral oil. This can revive the wood’s luster without a full polish or restoration.
11. Avoid Prolonged Contact with Plastic or Rubber
Don’t place rubber mats, plastic covers, or vinyl items directly on antique wood. These materials can react chemically with old finishes, causing sticky residues or discoloration over time.
12. Store Upholstered Items with Breathability
If you need to store Victorian furniture short-term, cover it with cotton or muslin sheets—never plastic wrap or sealed covers, which trap moisture and promote mold.
13. Use Museum Gel for Small Décor or Glass Displays
Victorian display cabinets and marble-top tables may hold fragile items. Secure these items with museum gel or wax to prevent sliding, tipping, or scratching the surface during cleaning or vibrations.
14. Re-glue Veneers Carefully
Victorian furniture often features thin veneers. If a veneer starts to lift:
- Never rip it off.
- Use a tiny syringe to apply wood glue under the veneer.
- Clamp gently with wax paper and a soft pad until dry.
Consult a professional for large or brittle pieces.
15. Label or Catalog Valuable Pieces
If you own multiple antique pieces, label or document each one with information like origin, material, and maintenance history. This helps preserve value and authenticity, especially for family heirlooms or insured items.
16. Avoid Over-Refinishing
Too many refinishing attempts can remove the original patina and reduce the item’s value. Preserve natural wear where possible—it adds historical charm. Only refinish when absolutely necessary and always use expert services.
Also Check: Victorian End Tables Collection
17. Watch Out for Wood Movement in Different Seasons
Victorian furniture may expand slightly in summer and contract in winter. Cracks or seams may appear temporarily. Avoid quick fixes—allow the piece to stabilize and adjust humidity instead.
18. Invest in Routine Appraisals or Restoration Consultations
Every 3–5 years, especially for high-value antiques, hire a furniture conservator or appraiser to assess your collection. They can recommend preventive maintenance, identify early-stage issues, and document value for insurance.
 19.Understand and Preserve the Patina
 19.Understand and Preserve the Patina
The natural aged finish, or patina, adds historical and monetary value. Avoid over-cleaning or polishing—it may remove this character layer. Experienced conservators stress that patina offers protection and charm, and overzealous restoration can harm value
20. First, Identify the Finish Type
Always test the finish before cleaning—use denatured alcohol on an inconspicuous area:
- If it smudges or becomes sticky, it’s likely shellac or wax.
- If not, it may be lacquer, oil, varnish, or polyurethane, which can tolerate mild cleaners like Sal Suds or Murphy Oil Soap (diluted)
21. Use Gentle Cleaner Kits, Not Harsh Chemicals
Choose mild cleaners or mixture like Sal Suds or Murphy Oil diluted with water. Always wipe in the direction of the wood grain, dry immediately, and avoid soaking the wood . Avoid silicone-based polishes or multi-purpose sprays—they leave residue and degrade over time.
22. DIY Cosmetic Fixes for Small Scuffs
For light scratches or nicks, use touch-up markers, wax filler sticks, or even walnut oil. Products like Restor‑A‑Finish can help blend minor blemishes—without refinishing.
23. Store Short-Term with Care
If storing for weeks or months:
- Cover with cotton or muslin sheets—not plastic, which traps moisture.
- Keep in a climate-controlled environment, not a basement or garage without humidity/temperature regulation.
24. Inspect Before and After Cleaning
Regular inspection should include every edge, carving, veneer seam, handle, and joint:
- Look for hairline cracks, loose joinery, or veneer separation.
- Document condition changes over time—you’ll catch issues early
25. Professional Restoration Only When Necessary
Stripping finishes should be avoided except in extreme cases. According to conservation standards, retaining original coatings is preferred—even if slightly degraded. Refinishing is a last resort and best performed by trained conservators
Enhanced Care Process Flow
- Spot-Test Finish → Determine type: shellac/wax vs varnish/modern.
- Dust Weekly → Use microfiber or natural-bristle brush with grain.
- Clean Gently (Every Few Months) → Mild soap solution or biodegradable cleaner.
- Dry Immediately → Never leave moisture to soak in.
- Address Minor Scuffs → Filler stick or drop of walnut oil.
- Wax Sparingly → Beeswax/Paste wax applied every 6–12 months (more often if heavy use).
- Inspect Thoroughly → Document condition and detect early pest, mold, or structural issues.
️ Additional Preservation Strategies
- Use breathable showcase textiles like linen or cotton beneath fragile items.
- Install UV-filtering window film to protect both wood and upholstery from fading.
- Keep pests at bay: Cedar or lavender sachets in drawers deter insects naturally. For infestations, professional treatments include freeze- or low-oxygen–based protocols to avoid chemical damage.
- Avoid over-reliance on oils: Some oils build up to a gummy coat that obscures wood grain and complicates future treatment—use sparingly and only on oily or dry finishes—not repeatedly.
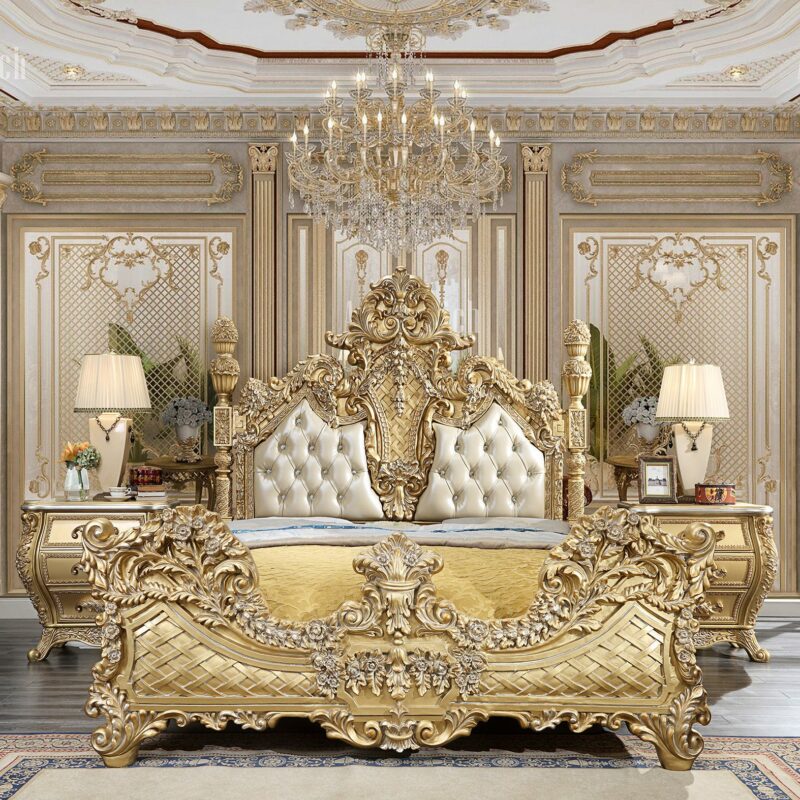
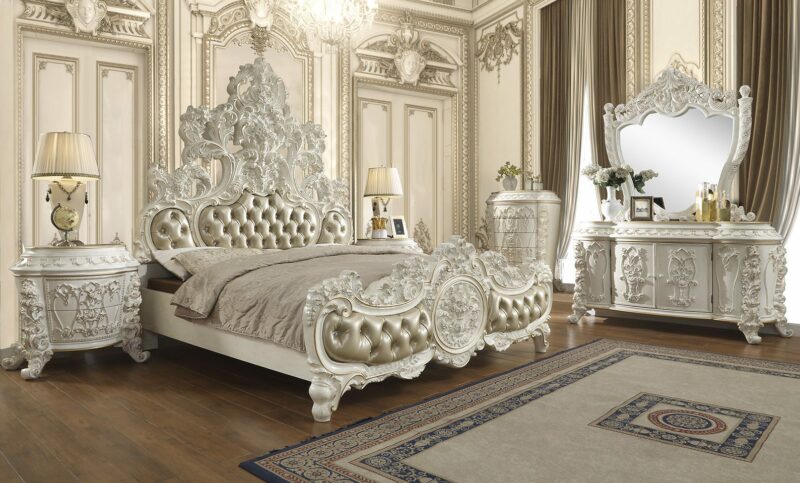
Also check: Victorian Bedroom Sets
Final Pro Tips
- Victorian furniture is designed to be admired and used—not sealed away.
- Patina isn’t flaw—it’s heritage. Cleaner doesn’t always equal better.
- Knowledge is your friend: understanding materials, finishes, and history lets you avoid mistakes.
- Investing in a conservator consultation pays off—both in preservation and future piece value.
Looking for More Victorian-Inspired Pieces?
At Mobilia Cleopatra Furniture Store, we specialize in classic, vintage-style, and antique reproduction furniture. Whether you’re restoring a Victorian parlor or furnishing a modern space with timeless character, we’re here to help you choose pieces that last.
